Showing posts with label Fall garden. Show all posts

Tuesday, September 15, 2009

Under Pressure

aaa 1020
Have you been there? You need to get planting........the season is NOW! You've got a window of a few weeks to get it done so, of course, you lounge around the first week......."I'll do some planting during the week after work, and finish it up next weekend" goes the usual logic.

Then the weekend comes and you forgot you promised a friend you'd attend their wedding. Bummer. Church on Sunday and another weekend is gone.

"I'll do some planting during the week after work, and finish it up next weekend".........again.

Then it rains all weekend. Bummer.

"I'll do some planting during the week after work, and finish it up next weekend"........It has to happen!

Then your Mother/Brother/Sister/Wife/Son/Uncle needs you to (fill in the blank) and thinks it's ridiculous that you'd say no so you can take care of your stupid garden! The pressure builds...........Sorry, but it's now or never Mom!

That's how I've felt the last couple weeks as I've gone from being ahead of schedule in the garden, to barley hanging on as October approaches fast. But I did get some work done during those weeks after work. Check it out............
aa 992
aa 1029 aa 1032
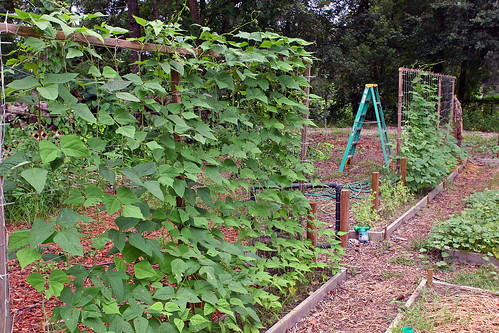
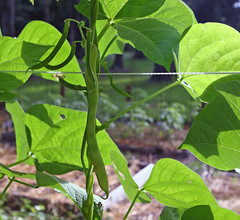
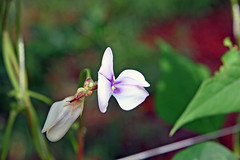
As the gardens up north start to wind down, the Florida autumn garden is just getting busy. Like these beans...........just ate the first one this morning! Delicious.

aa 1034aa 1000
aa 997
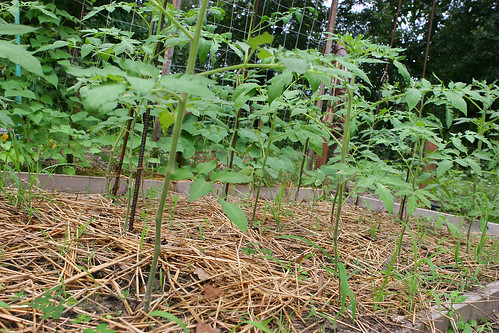
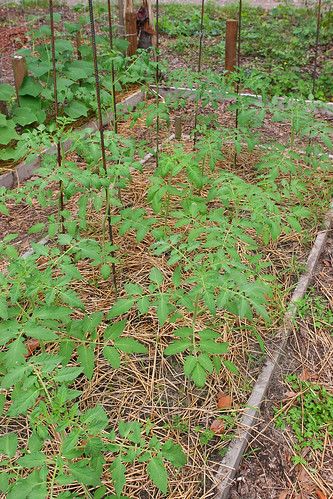
68 tomato plants......and they were definitely started on time. I'm continuing to use rebar stakes for my tomatoes, as they worked great during the spring. I buy a 20' piece of 3/8" rebar and cut it in half. I push the rebar in the ground about 2-3 feet deep, by hand, right behind the plant. As the tomato plant gets bigger I just tie it to the rebar. What's nice is the rebar is strong enough & long enough to support the plant without bending, yet light enough to move around to other beds when needed. A great way to pack 17 plants in a 10' x 5' bed.
aa 1002 aa 1003
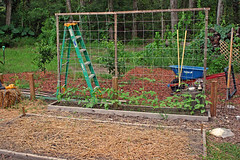
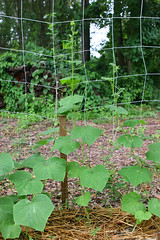
Cukes.......my first time using a net trellis.
aa 977
aa 980
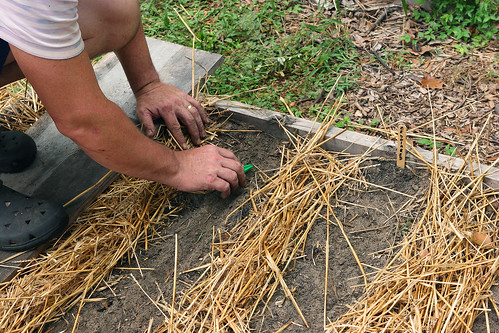
A full bed of onions. A lot of people are surprised that onions grow in Florida, but they actually do quite well during the cool months. You just have to make sure you use "short day" seeds. Because they take a long time to grow (some varieties take 160 days.......51/2 months!), the bed I grew them last year got covered by shade as the winter progressed. So this year I moved them to a bed that gets full sun all through winter. I'm looking to harvest about 200 onions in this 5' x 10' bed. They store.........so I grow.
aa 986
aa 983 aa 984
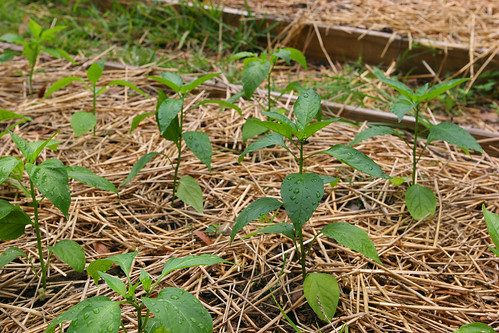
Hot & Sweet peppers (up top), Tomatillo (bottom left) & Okra (bottom right). All grown in the same bed. I've never grown Okra or Tomatillos before........I hope there's enough hot weather left for them. It's possible it might get a little cool for them by the end of next month. We'll see.
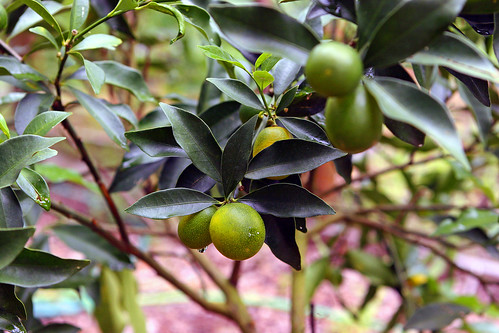
aa 1005
It's Florida......you've got to grow some citrus. My first citrus tree.........kumquat. I love kumquats!
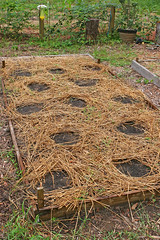
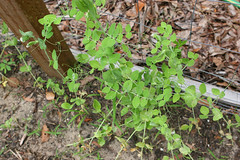
aa 988 aa 995
On the left is some squash I think I planted too late.......and on the right some peas that I'm growing for the first time.
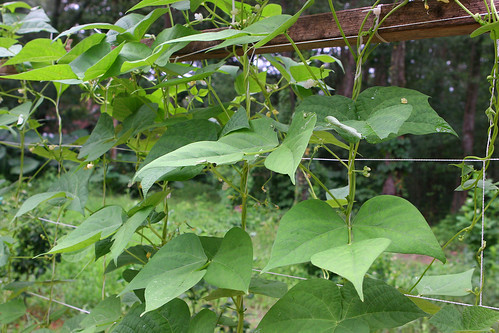

aa 989
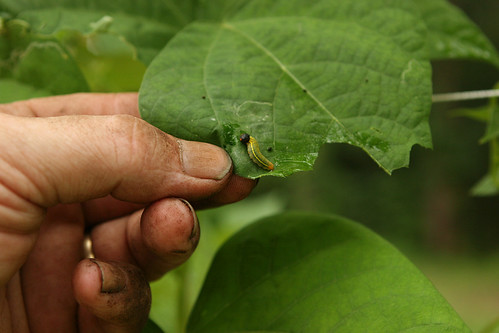
Notice the rolled leaf........middle-right?
aa 1012
Well, this is the rascal that wraps itself in the leaf...................
aa 1013
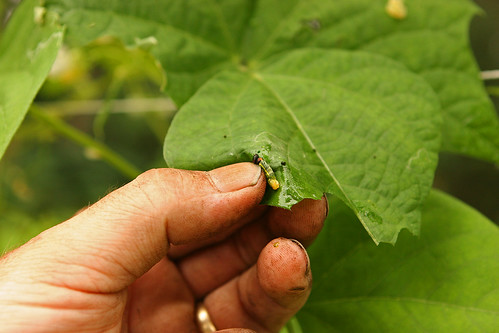
...............and this is the proper pest control technique for the situation. I bet I've squished 75 of these guys over the last couple weeks.


aa 993
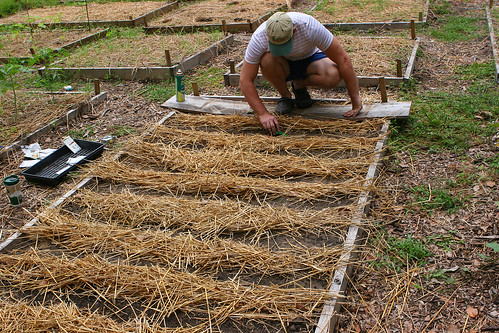
I've still got 4 beds to plant yet...........for the real cool weather crops. Broccoli, Brussels, Lettuce, Beets, Radish, Celery, Cabbage and some others I'm sure I've forgotten. I have been asked about the mulch I use in the beds. I use straw that I buy from a local farm supply company for about $10 a bale. It definitely keeps the weeds down and helps keep the soil from fluctuating wildly from wet to dry all the time. Don't use hay! All it takes is one time and you'll know why............it'll start to grow!


That brings me up to date. Now to get after those cool weather crops...................I've got to get them in this weekend.

Friday, August 28, 2009

It's On!

aa 933
aa 939
The first 34 tomatoes are in the ground.....with 34 to go. If looking at my garden map from my previous post, I planted 17 tomato plants each in boxes #14 & #6. Here's my varieties for this years fall garden:

1. Red Brandywine (Totally Tomatoes) - The classic.
2. Cuostralee (Johnny's) - Red, French heirloom........first time for me.
3. Red Pear (Johnny's) - Pear shaped, red with green shoulders, look cool....again, 1st time.
4. Bolseno (Johnny's) - Red with green shoulders.....hybrid, first time.
5. Rose (Johnny's) - Deep pink, heirloom........first time in my garden.
6. Black Krim (Totally T.) - Black, a constant in my garden......my wife's favorite.
7. Black (Totally T.) - Obviously........black! 2nd time in the garden.
8. Big Beef (Johnny's) - Red, large, hybrid......1st time.
9. Japanese Black (Johnny's) - Burgundy/green shoulders, pear shaped....very cool, 1st time.
10. Cherokee Purple (Totally T.) - Brown? Black? Purple? Always in the garden!
11. Sweet Olive (Johnny's) - Red cherry.......1st time.
12. San Marzano (Johnny's) - Red cherry/plum/grape. Hybrid......1st time.
13. Yellow Brandywine (RH Shumway's) - Yellow.........2nd time in the garden.
14. Chocolate Cherry (Totally T.) - Black cherry tomato. Wife loves them......2nd time.
15. Black Sea Man (Totally T.) - Black determinate. Always in the garden.
16. Velvet Red (Totally T.) - Red fuzzy cherry. Another wife favorite......2nd time.
17. Aunt Ruby's German Green (Totally) - Green.....almost can't tell when ripe! lol. 2nd time.
18. Dixie Golden Giant (Totally T.) - Yellow, big........2nd time.
19. Tomatillo (Ferry-Morse) - Does this count?

Wow, did I really plant that many varieties? I might've got carried away! I love trying different kinds.....although yellow tomatoes aren't my favorite. I like them in some recipes to add color, but they generally don't have the flavor as the others. You probably noticed we like the black tomatoes.......yes, they're our favorites (especially my wife!) Funny.......2 years ago we didn't even know black tomatoes existed!

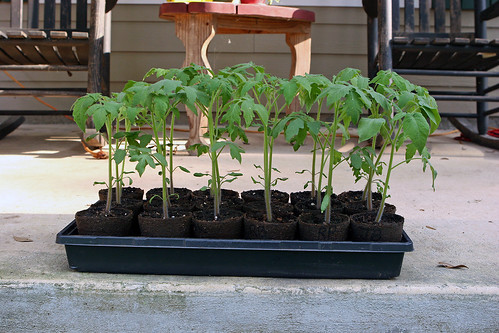
I planted between 4-6 seeds of each variety, and I won't know exactly how many of each kind will make it into the garden for a couple of weeks.........You never know if the dog will eat a couple as they harden off, or if I won't drop a hammer on one or two, maybe a cut worm will take a liking to a couple of them. So I plant about 85 plants to get 68 (17 X 4 beds) growing in the garden. Hopefully I won't need all the extras and I can give some away.


Oh yeah, as a side note......I also planted some beans & peas:
aa 944 aa 942
aa 941

Wednesday, August 26, 2009

Fall Garden Prep II.........

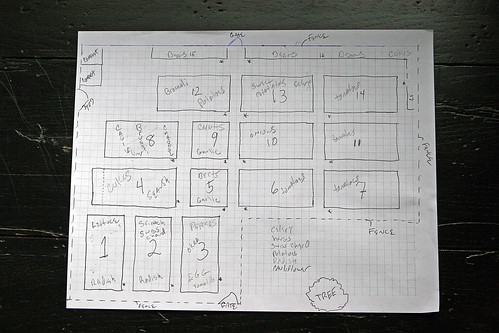
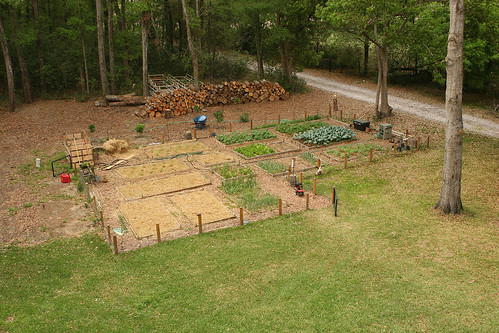
My Fall garden planting is getting ready to be in full swing. I like to plant my tomatoes first because they are the most sensitive to the cold, so I want to get them started as early as possible. Last year in North Central Florida we had temps close to freezing around October 27th (it's a global warming problem)! So I started about 15 varieties of tomatoes inside around July 28th, and they're now ready to be planted outside. I've since started some eggplant & peppers, as they're also warm weather veggies. Here's a map of my garden and where I plan to plant with a picture from the roof to compare:

aa 948
aaGarden 271


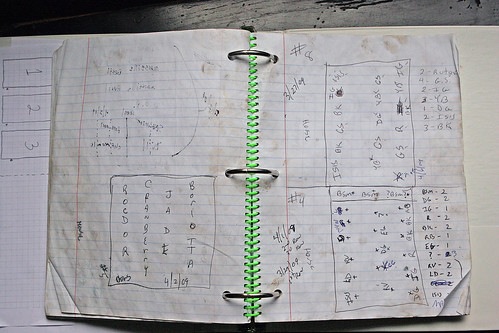
I number each raised bed so I can keep track of where I plant each season. Here's my notes from this past summer season:
aa 951

As you can see, the page that's above left I have box #5 where I planted 4 varieties of beans on April 2, 2009. On the above right page I've listed 2 raised beds, #8 & #4, which I used to plant tomatoes on 3/27/09 and 4/1/09. I use abbreviations as a shortcut but I usually list all names with abbreviations on another page so I can check their names in case I forget. A few on this page: BSM= Black Sea Man , BK= Black Krim, Isis= Isis Candy (cherry tomato), EG= Early Girl, etc. My wife calls this Man Organizing. Simple and to the point. I know what, where, when and which direction (the word house tells me which way the box faces) as well as a documented history to help me plant the next season.

So now I'm on the doorstep of the 2009 Fall garden. My tomatoes are going in the ground while it's still warm and my cold veggies will be coming soon. The above map shows my ideas on what and where I'm going to plant with considerations to a few things. One is rotation. I always rotate, but it can be a challenge because I plant so many Nightshade veggies. The other issue is shade. Looking at the map, box #11 is north, #13 is west, #3 east and #8 south. During the summer the north end gets shady as the season nears mid-June. During the fall the south end gets shady as we near mid-December. If you look at the overhead picture above, which was taken mid-winter, you'll notice the south-east corner has no plants, but the north side has a bunch. So I try to plan accordingly.

Sunday, August 9, 2009

Fall Garden Prep 1

So, as you can see in yesterday's post, the garden's a bit of a mess......but we've been working to get it ready for the Fall growing season. Here's some pics so you can see how's its coming along:

aa 872
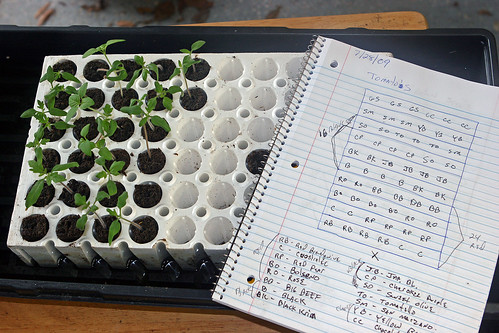
The first thing I do when getting ready for the fall garden is to plant my tomatoes. Even though Florida has a warm Autumn, it can get chilly in October. Last year on October 29th it got as low as 32 degrees in Ocala. So you must start your tomatoes as early as possible. I start them indoors in August for the opposite reason Northerners start there's indoors in March.....because it's still too hot.

You'll notice that I like to use Park Seeds styrofoam seed starter (with the bio-sponges which are about 7 cents a piece). I love the accuracy, speed, organization and the strength of the plants when I use it. I label each styrofoam tray (I have about 8) with a letter. If you look on the notebook, this one is labeled "X". I wrote the letter "X" on the actual tray as well, so I know which way to read it & match it with my notebook. Now I can keep track of which varieties & how many are planted & where. If some don't pop up....I just re-plant in the same sponge.

aa 880
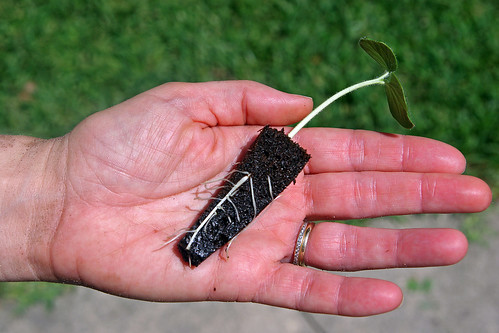
Here's an okra newbie with some great looking root growth all through the bio-sponge. The sponges are made of some kind of sterile medium. Because you only pour water into the tray and not on the plant, it causes the roots to grow down & strong.

aa 908
aa 903
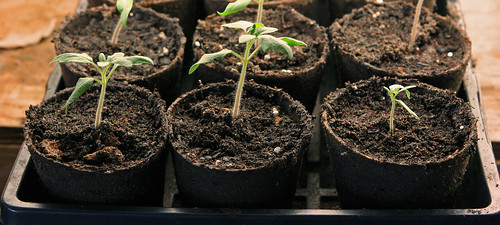
I then transplant them into some peat pots with a mixture of peat moss & potting mix.

aa 913
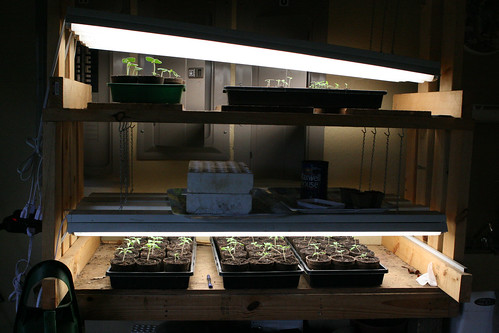
And then it's under the lights until the end of the month. I'm looking to transplant them into the garden the 1st week of September.

You're looking at 54 tomatoes in peat pots on the bottom, 6 okra in peat pots on top left, about 24 assorted peppers still in the sponges top right, and about 12 tomatoes still in the sponges top right. With more on the way.